By Nobody 2025-09-07
Introduction
Build an InMoov to start experimenting with life-size human-like robots.
About InMoov
Detailed instructions are from the InMoov Website.
The STL files etc. can be obtained and used according to the license from InMoov Project.
Finger Starter
This is the first step, purpose is to check out printers and materials.
Calibrator
Download and 3D print the CALIBRATOR STL file.
First print:
- Printer: Bambu Labs X1 Carbon. Software V 2.2.1.60.
- Build Plate: Textured PEI Plate.
- Filament: Blue Bambu PLA Basic 1.75mm, Filament code 10601.
- Settings: 0.12mm High Quality.
Time estimated showed 42m32s.
Second print:
- Settings: 0.12mm High Quality.
- Settings: Advanced > Quality > Precision > X-Y hole compensation = 0.1 mm.
In both prints the open sections fit together well.
With the hole compensation the second print was able to fit together the rectangular hole:
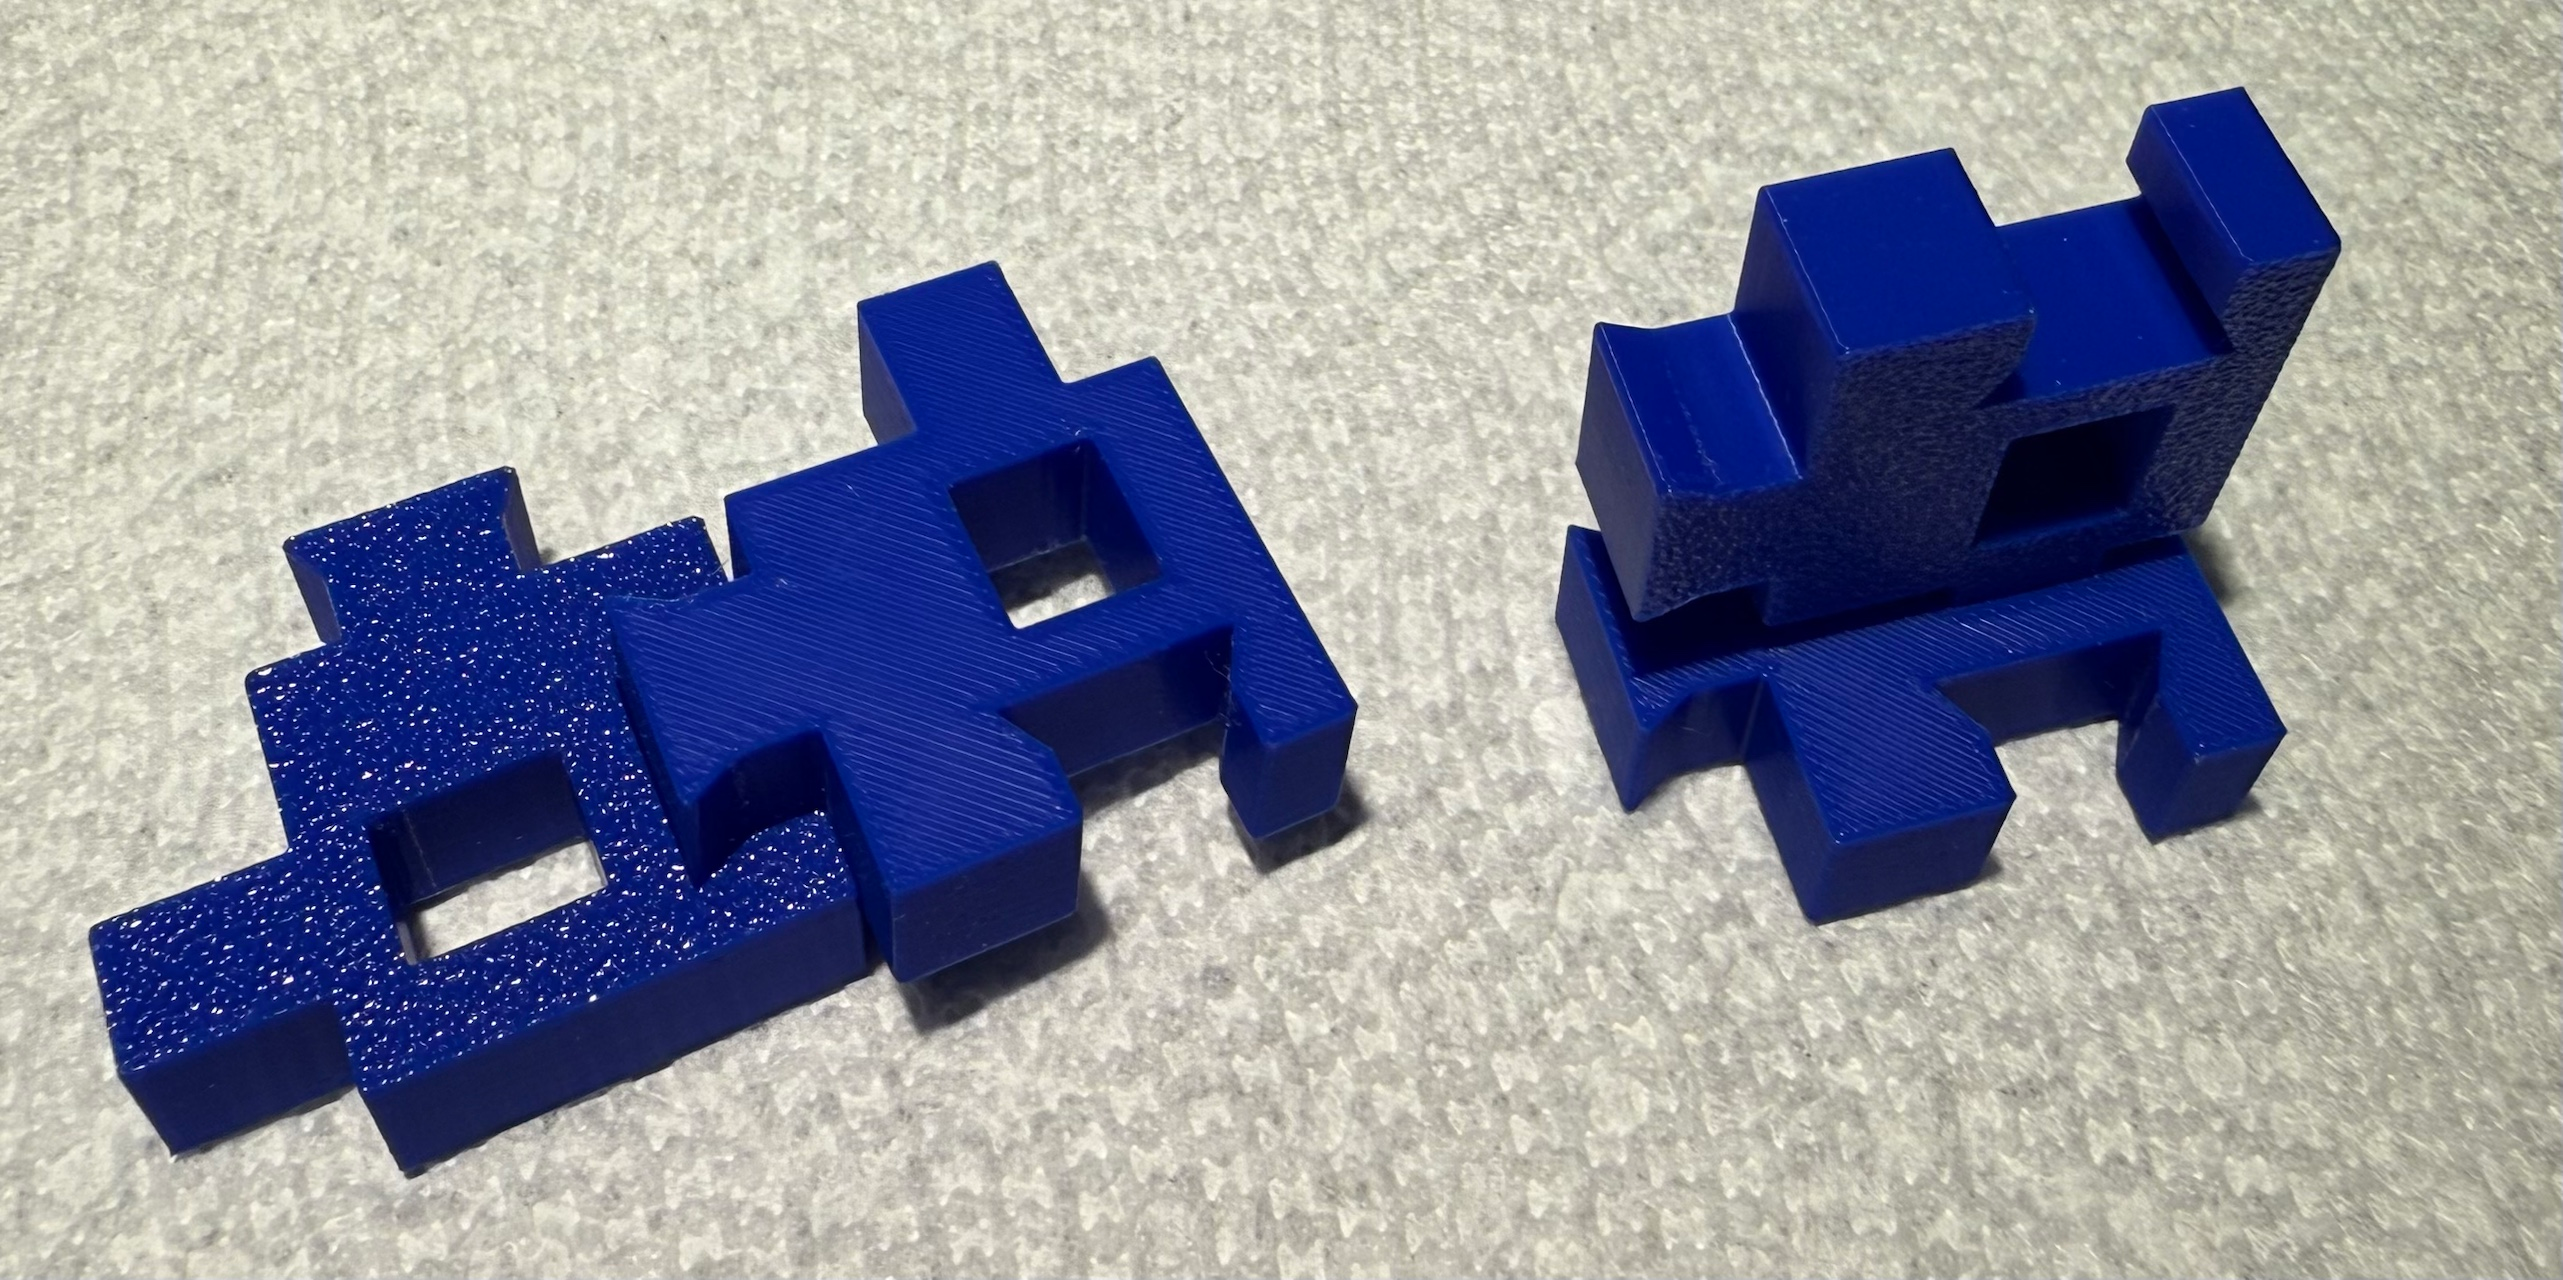
From here on, with InMoov STL files, the 0.1mm hole compensation will be used and adjusted as needed after testing each print.
Materials
- Download STL and 3D print one each: FingerIndex, FingerTester, RobRing, Servo-Pulley from InMoov Parts Gallery.
- Servo: HOOYIJ 20Kg Dig Servo 270 Degree DS3218MG or Miuzei 20Kg 270 Degree MS24-F.
- Braided fishing line.
- Two-part epoxy adhesive.
Files obtained were: FingerIndexV4.stl, FingerTesterV2.stl, RobRingV2.stl and Servo-PulleyV2.stl.
- Printer: Bambu Labs X1 Carbon.
- Build Plate: Textured PEI Plate.
- Filament: Blue Bambu PLA Basic 1.75mm, Filament code 10601.
- Settings: 0.12mm High Quality.
- Settings: Advanced > Quality > Precision > X-Y hole compensation = 0.1 mm.
Time estimated for all 4 on one plate showed 2hr59m.